Hopefully, you will never be in a self-defense shooting scenario, but you can’t be too prepared. This article about 5 Flashlight Techniques will give you tools to handle that situation if it arises. Prowlers prefer the cover of darkness and statistics show that most self-defense shooting cases occur during the evening. Further, there are always dark areas wherever you go, so carrying a flashlight anywhere could be life-saving.
In this article, you’ll learn about different techniques for holding a flashlight and a pistol. Each method has pros and cons. Before anything else, it’s important that you always keep your flashlight in the same place. Whether that’s your pocket, your purse, your backpack, or anywhere else, make sure you’ll know where it is when you need it.

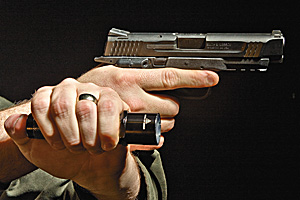
One of the most popular techniques is the Harries method, named after Michael Harries. Hold the gun with your dominant hand and the flashlight with your non-dominant. Grip the flashlight like an ice pick by wrapping your hand around the flashlight with your thumb on the tail cap switch. With this style, you will increase your stability with the pistol. Balancing the benefit of pistol support, the disadvantage with this grip is that the source of light is right in front of your body. If someone targets the light, they can hit you.

Another flashlight hold is the Chapman. Ray Chapman was the world’s first pistol championship winner in 1975. For this technique, hold the flashlight like a sword with your thumb and forefinger. Your three other fingers wrap around the hand holding the gun to provide stability. This technique is outdated because it was designed when the switch of the flashlights were still on the side. Nowadays, tactical flashlights have the button at the back end.

The FBI use a technique that keeps the light away from your body to minimize your visibility. Like the Harries method, hold the flashlight with your non-dominant hand like an ice pick. Extend that hand upward and away from your body and keep the flashlight as far away from your body as your surroundings allow. This method draws fire away from your body, especially the vital organs when your flashlight is targeted. However, this can be a fatiguing hold with no firing grip support. Also, since we know that most people miss low and left with a pistol – is this a smart move?

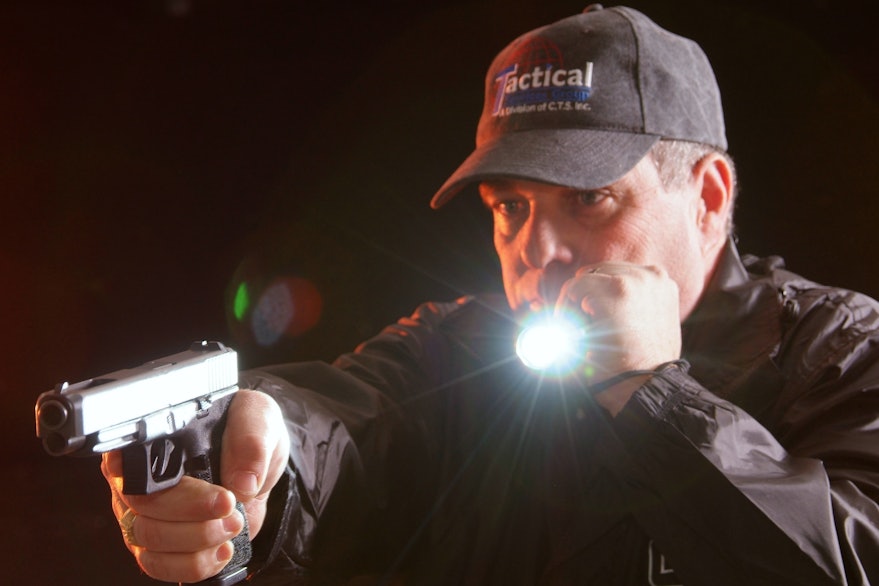
With the Neck Index method, worst of the 5 Flashlight Techniques, hold the flashlight with your non-shooting hand and place it near your neck. This lets you use the sights of the handgun by shining the light onto your handgun. Although you may not support your shooting hand, you can lock your extended arm to help control recoil. The real disadvantage of this method is that the source of light is near vital areas of the body, so you are at risk. Remember, most people miss low and right with a pistol.

A former FBI agent named Bill Rogers developed the final technique. It is called both the Rogers technique and the Surefire method. You can use one of the many SureFire flashlights specifically designed for this grip, and hold the flashlight between your middle and index finger. This is the technique that gets you closest to the two-handed grip. The downfall of this technique is that the source of light is again near vital parts of your body.
Depending on your situation, some of the techniques above will be smarter choices than others, and the ideal one will change as your situation changes. Getting to know and trying out all of these techniques will help you choose the right one for the right time. For example, if you shoot with your right hand, the Harries technique would be ideal when you are turning left around a corner. However, when you are turning right, the FBI technique is likely your best bet. Become familiar with each of these and you will have a valuable tool under your belt.
